Lucky Imaging
How to use lucky imaging for deep sky objects (DSO) to obtain high resolution images
Lucky imaging is not magic, but effective. I am using short exposures times, often in the range of 500 ms to 2 seconds per sub. This has some advantages over more traditional deepsky imaging techniques... with short exposures you do not need an expensive mount, auto-guiding is also not needed and the frames you take are often sharper than their long exposure counterparts. With recent camera advancements - with low read noise and high quantum efficiency (QE) - this can work really well to produce high resolution deepsky images with more details.
lucky imaging best practices - imaging process
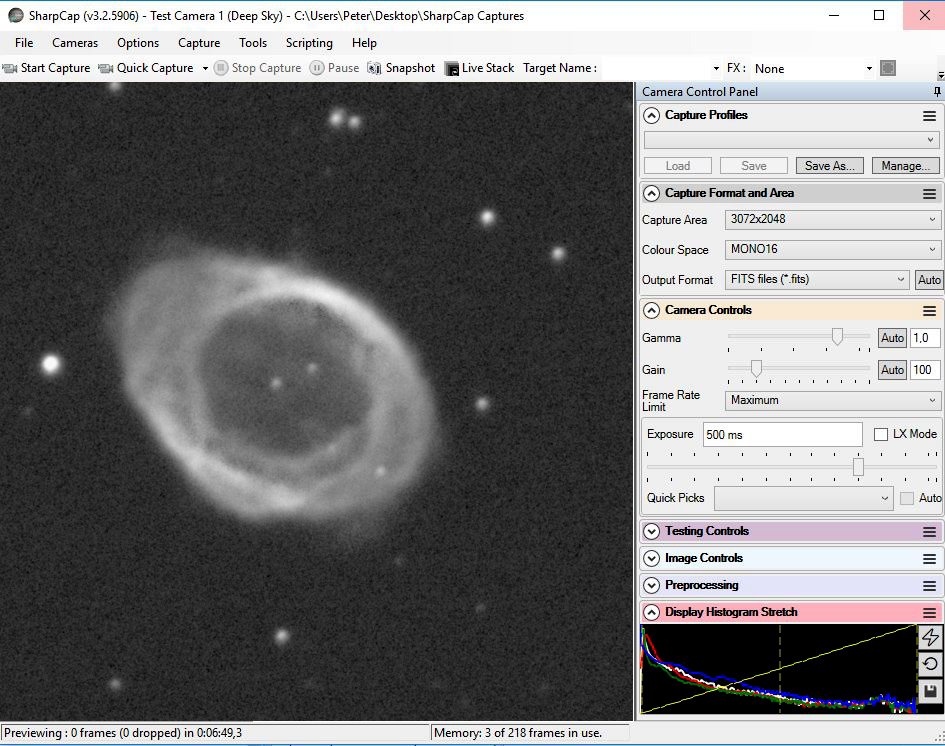
1) I always take images with a high gain value (e.g. 120) for 1 second as often as I can.
2) After 5 mins I stop the exposure process and then I save this sequence as one series/sequence, and so on and so on. So I get over the night, for example, 30 or more sequences together.
3) I stack each sequence in Autostakkert to FITS files, the darkframes are already subtracted by Autostakkert.
4) During the image selection in Autostakkert I select the best images of a series, e.g. 50-70% of the single-images (depending on the seeing).
5) I process the FITs files later in pixinsight. In pixinsight there is a function called "SubframeSelector". I use this and throw out the bad ones, the ones with the best FWHM value I keep it.
6) P.S. with the right image processing in PI and especially with "Deconvolution+PSF" function the results are really good and can be compared with results of much bigger telescopes.
lucky imaging best practices - image processing
1) Darks are substracted by Autostakkert, I don't use flats.
2) I use after Autostakkert the classic Pixinsight process, like:
3) StarAlignment, ImageIntegration to get a light FIT
4) DynamicCrop, DynamicBackgroundExtraction
5) ArcsinhStretch to push color, HistogramTransformation for balance
6) PSF to select a suitible star, Deconvolution, trial and error, no fix plan
7) Sometimes I apply it, but it is not always effective: Topaz DeNoise AI
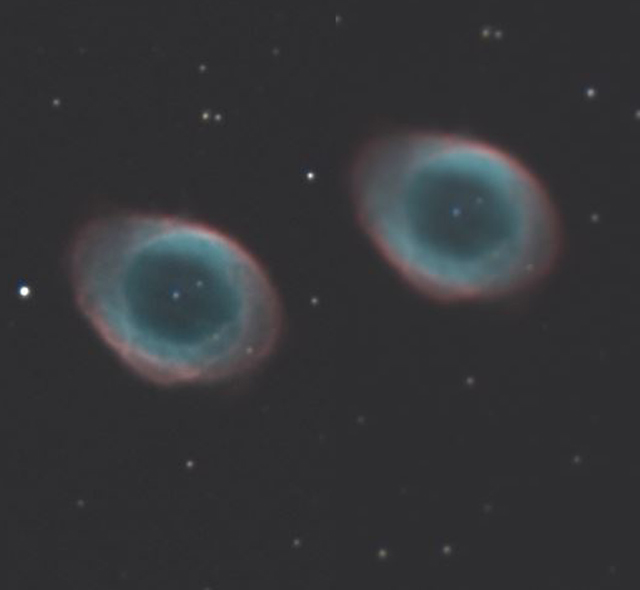
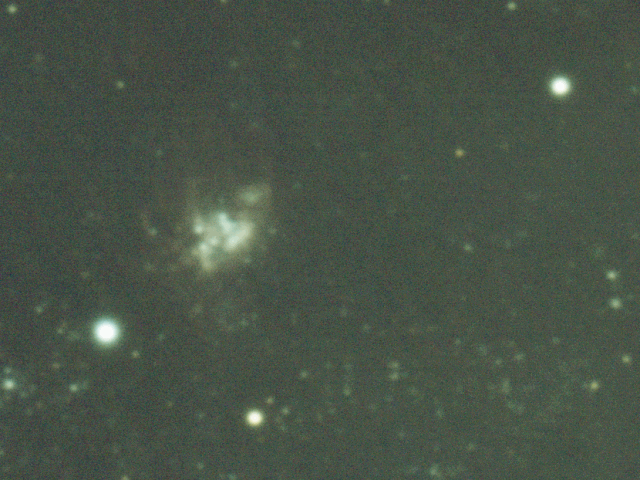
What you can see here and above are effects of seeing. Better seeing, sharper stars and more structures and details in objects, poorer seeing, larger stars and washed out structures. Particularly, local seeing conditions have a negative effect at long focal lengths. Therefore, the useful selection or a usage rate decides on more or less details in objects. First, choose the right exposure time... for example, better seeing = short exposure times, bad seeing = longer exposure times. Second, analyze the results e.g. with the frame selector tool from pixinsight and after it consistently take out images with bad FWHM values. Third, processes (stacking) the images with the best FWHM values. For short focal lengths, I'm thinking, this procedure is not so important. But if you want to do high resolution astrophotography with long focal lengths, in any case...