Smart Telescopes 2026: Experiences & Practical Comparison


Smart telescopes in practice. Reviews, experience reports and comparisons of Seestar, DWARFLAB, Celestron and others. As part of a project, I test various smart telescopes and try to assess the performance of the devices. Step by step, a review and test portal is being created here. The idea is not to post “pretty pictures” — smart telescopes can do that anyway — but to draw attention to technical features that, in my view, make the difference...
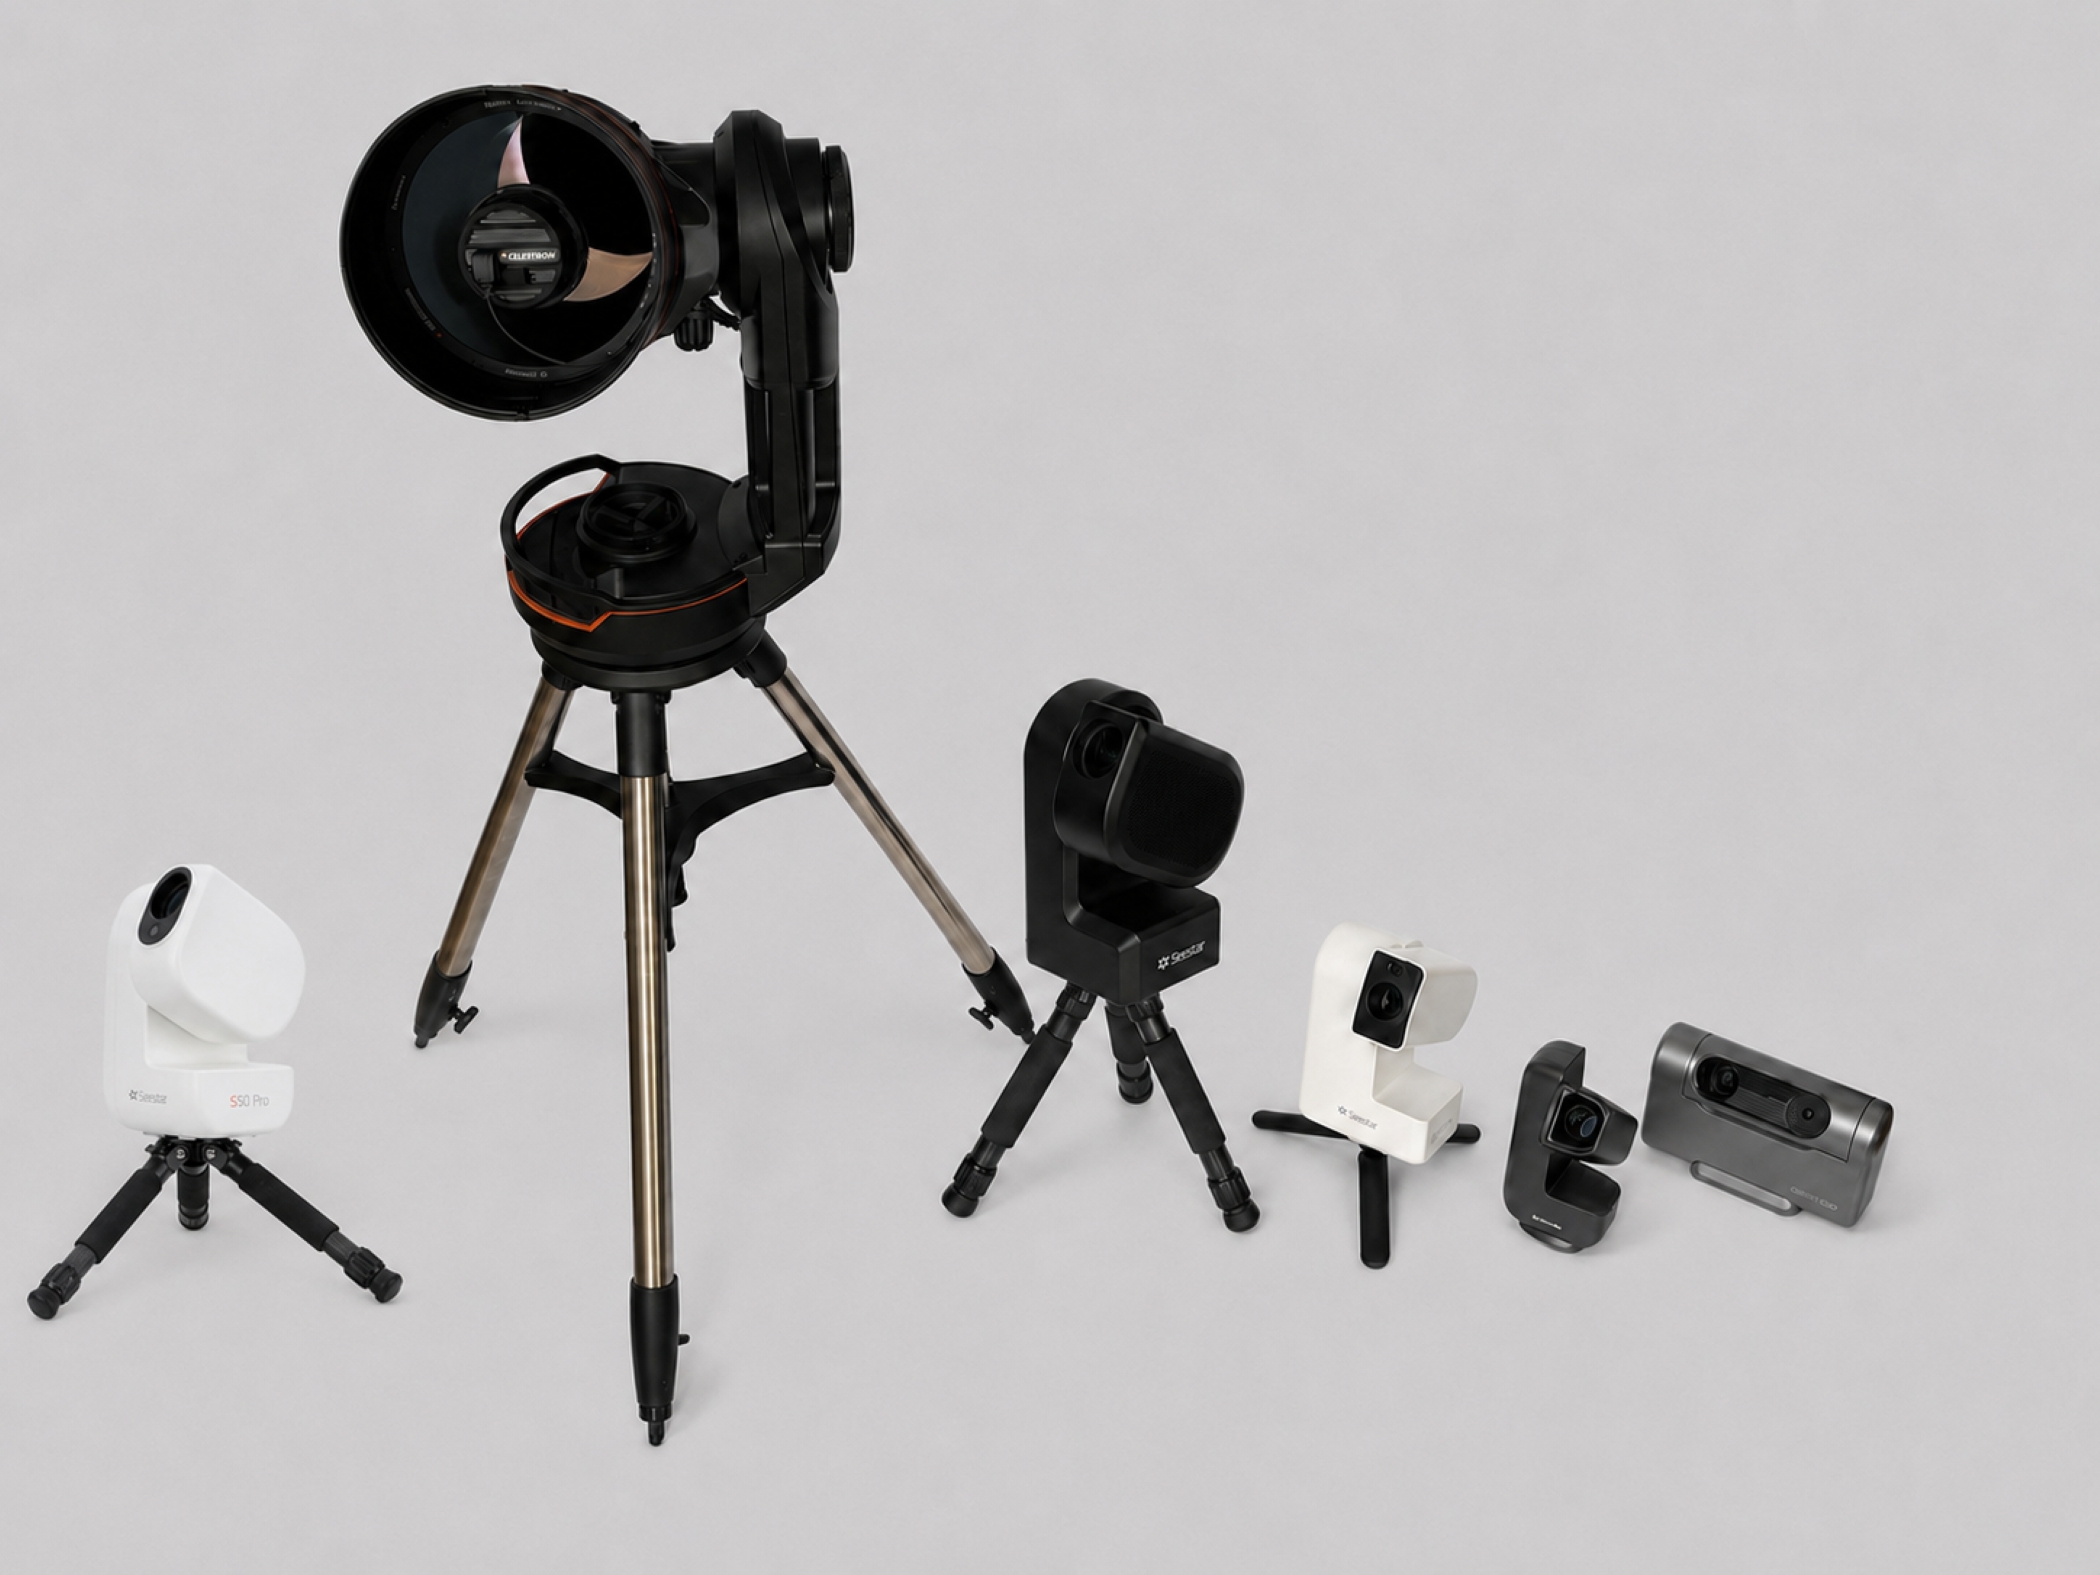


S50 Pro, Celestron Origin, S50, S30 Pro, DWARF 3, DWARF Mini

Contents
For beginners ... into the world of smart telescopes
Brief overview: How do the Seestar S30 Pro and S50 Pro differ?
Seestar S50 vs. S30 Pro using NGC 4565 as an example
Does the Seestar S30 Pro provide better imaging than the DWARF Mini?


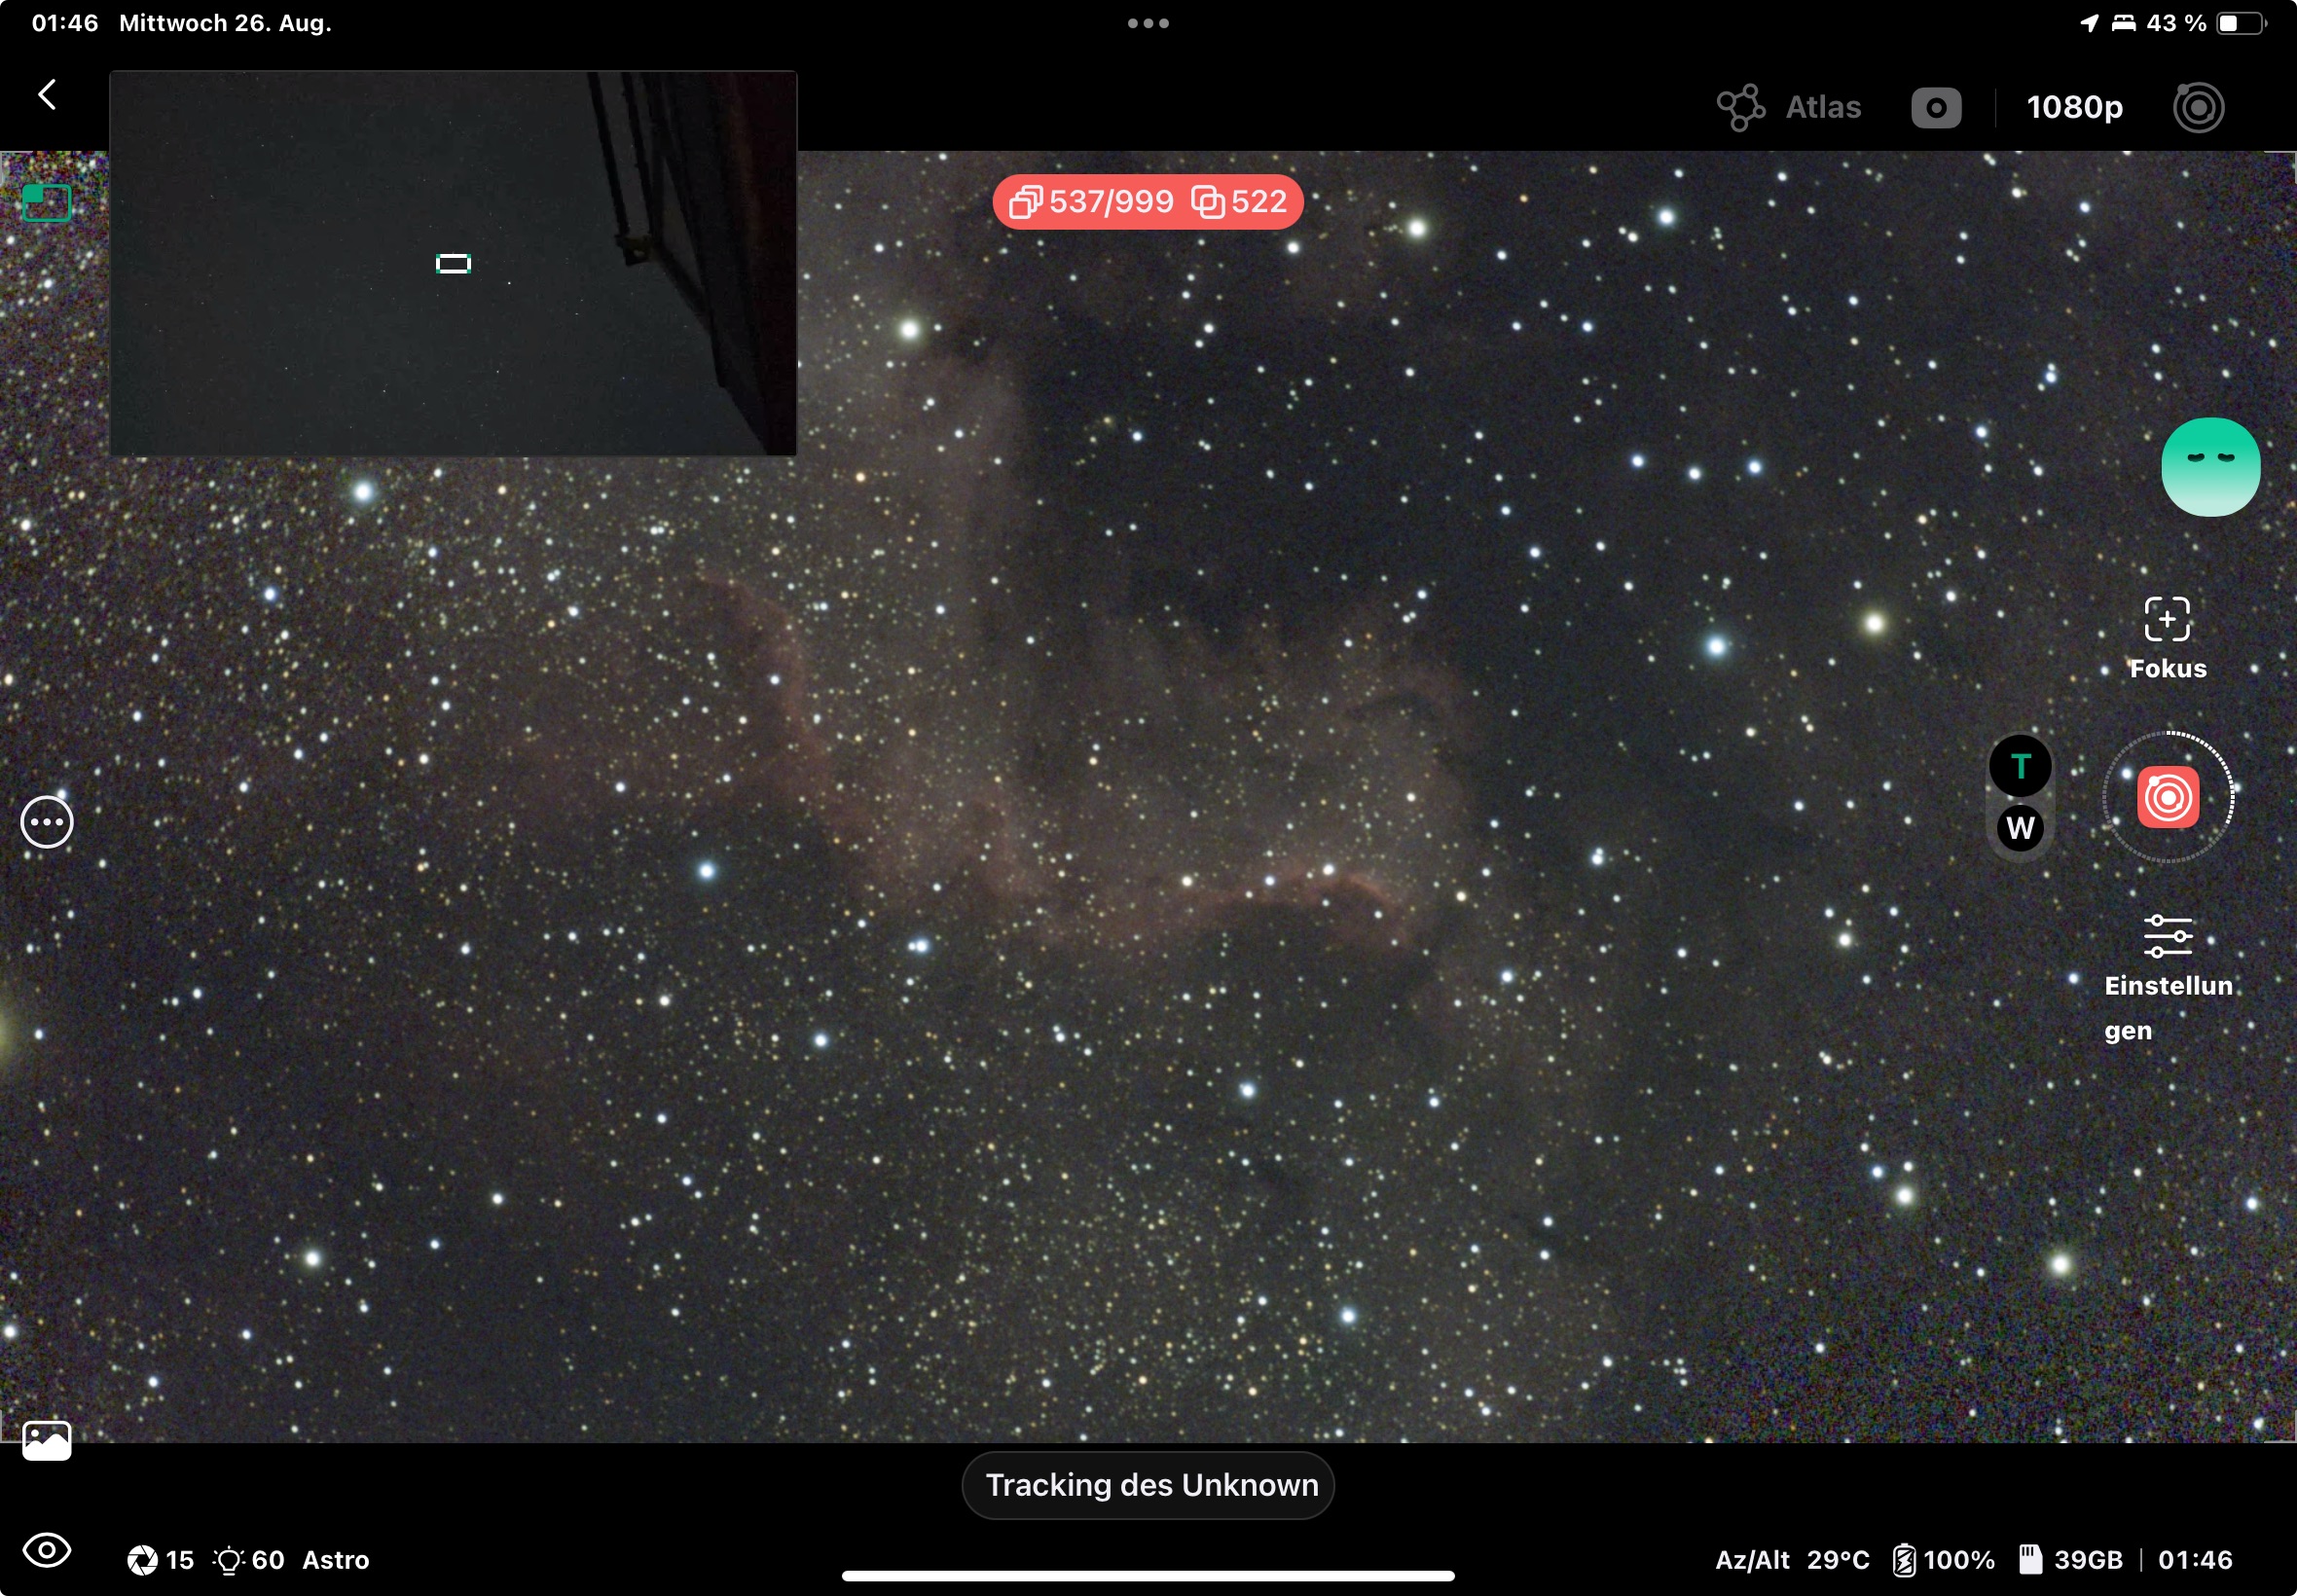
Part of NGC 7000 in the Dwarf Mini

For getting started in the world of smart telescopes, a device that is easy to use and quickly leads to first successful results is particularly recommended. The good news is, basically all devices can do this, whether DWARF, Seestar, Celestron, etc. Automatic alignment, an intuitive app and straightforward imaging of celestial objects remove many technical hurdles for beginners. For advanced users, the downloaded FITS files allow many exciting things to be done that go beyond astrophotography.
A smart telescope combines telescope optics, a digital camera, motorized tracking and a small computer in one device. After switching it on, the software analyzes the camera image and can determine the telescope’s current orientation based on the recognized stars. This process is called Plate Solving. A celestial object can then be selected via the app and the telescope automatically aligned to it (GoTo). During imaging, the tracking compensates for the apparent movement of the sky caused by Earth’s rotation. Instead of a single long exposure, many smart telescopes take numerous individual exposures and then combine them into a single image. This Live Stacking improves the signal-to-noise ratio as imaging time increases and makes faint structures visible. Automatic focusing (autofocus) ensures the most precise focus possible. Depending on the device, filters, mosaic functions or special imaging modes for the Sun, Moon and planets are also available. Many models can also save the captured raw data in FITS format. These files can later be processed with astronomical image-processing software and also open up possibilities beyond conventional astrophotography.
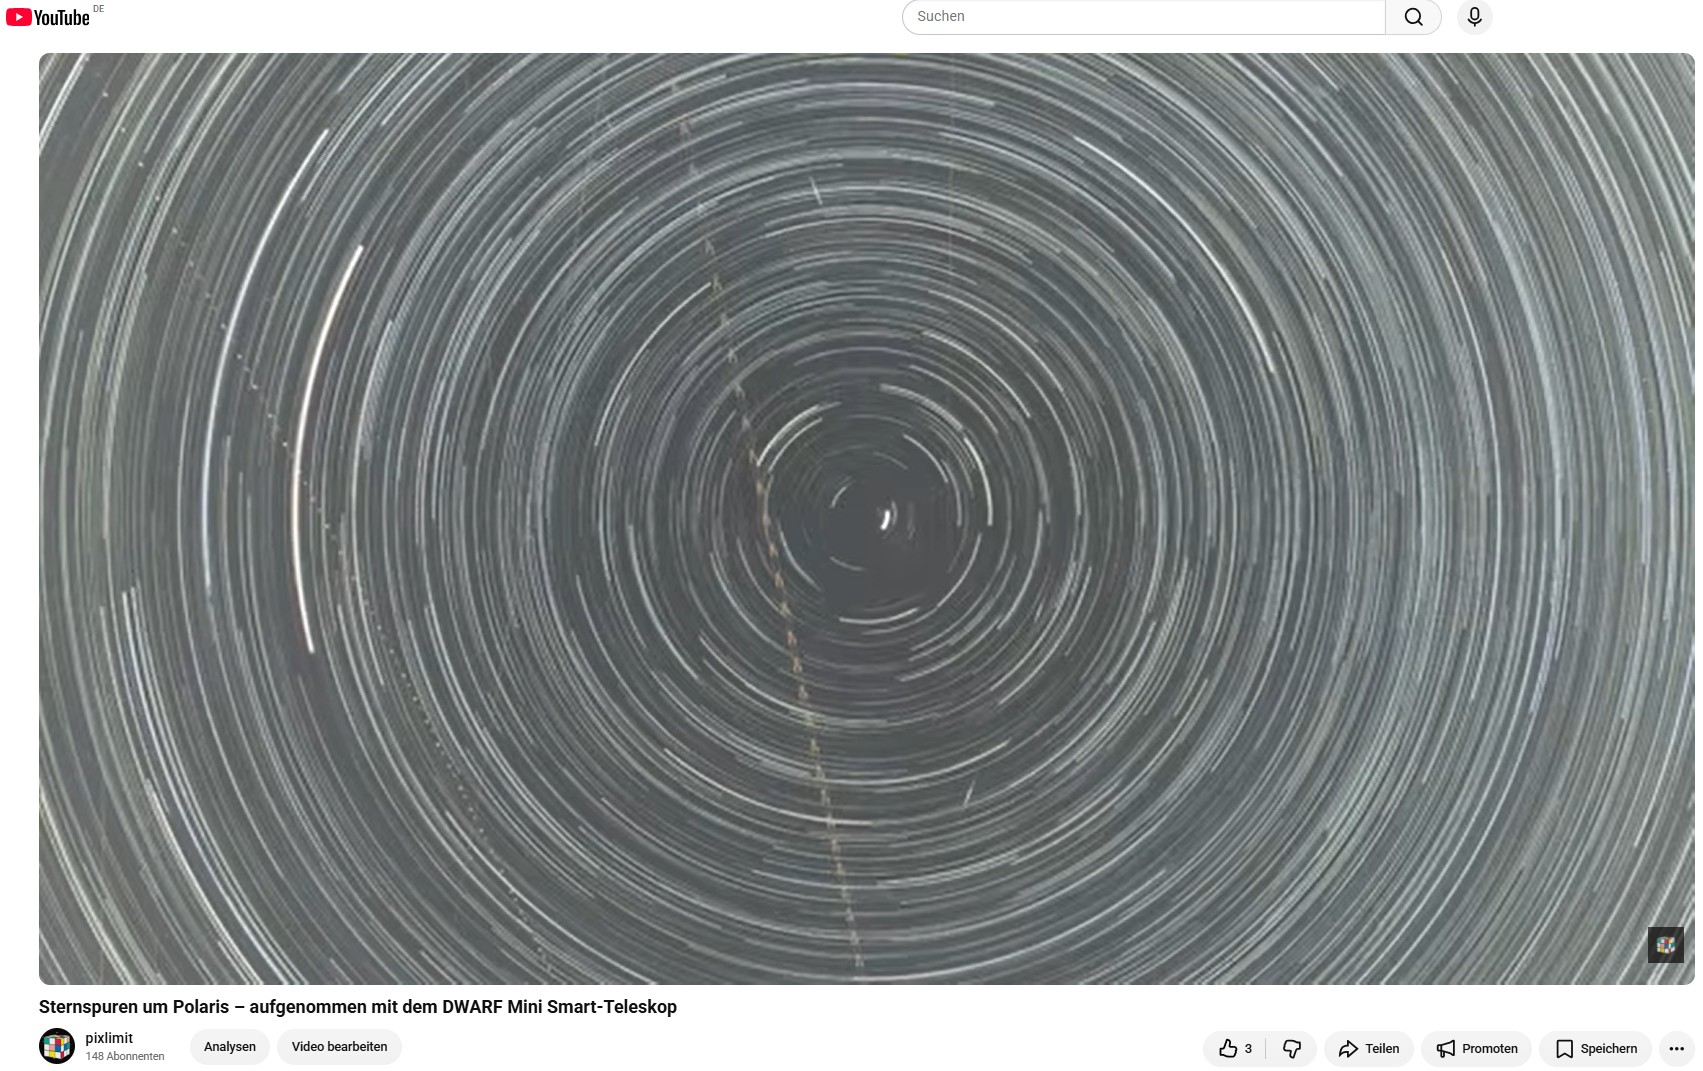
With a smart telescope, you can capture not only stars, but also star clusters, nebulae, galaxies and even star trails. Star trails around Polaris – captured with the DWARF Mini smart telescope
Plate Solving: The software compares the captured star field with a star map and determines the telescope’s current position and orientation.

GoTo: A celestial object is selected via the app. The telescope then automatically moves to the corresponding position.

Tracking: The motorized mount compensates for the apparent movement of the stars caused by Earth’s rotation, keeping the selected object in the image.

Autofocus: The system automatically determines the optimal focus setting.

Live Stacking: Many individual exposures are combined. This makes faint structures increasingly visible and reduces image noise.

FITS: The astronomical raw-data format enables subsequent image processing and more scientific analyses.

Mosaic: Several adjacent fields of view are captured and combined into a larger overall image.


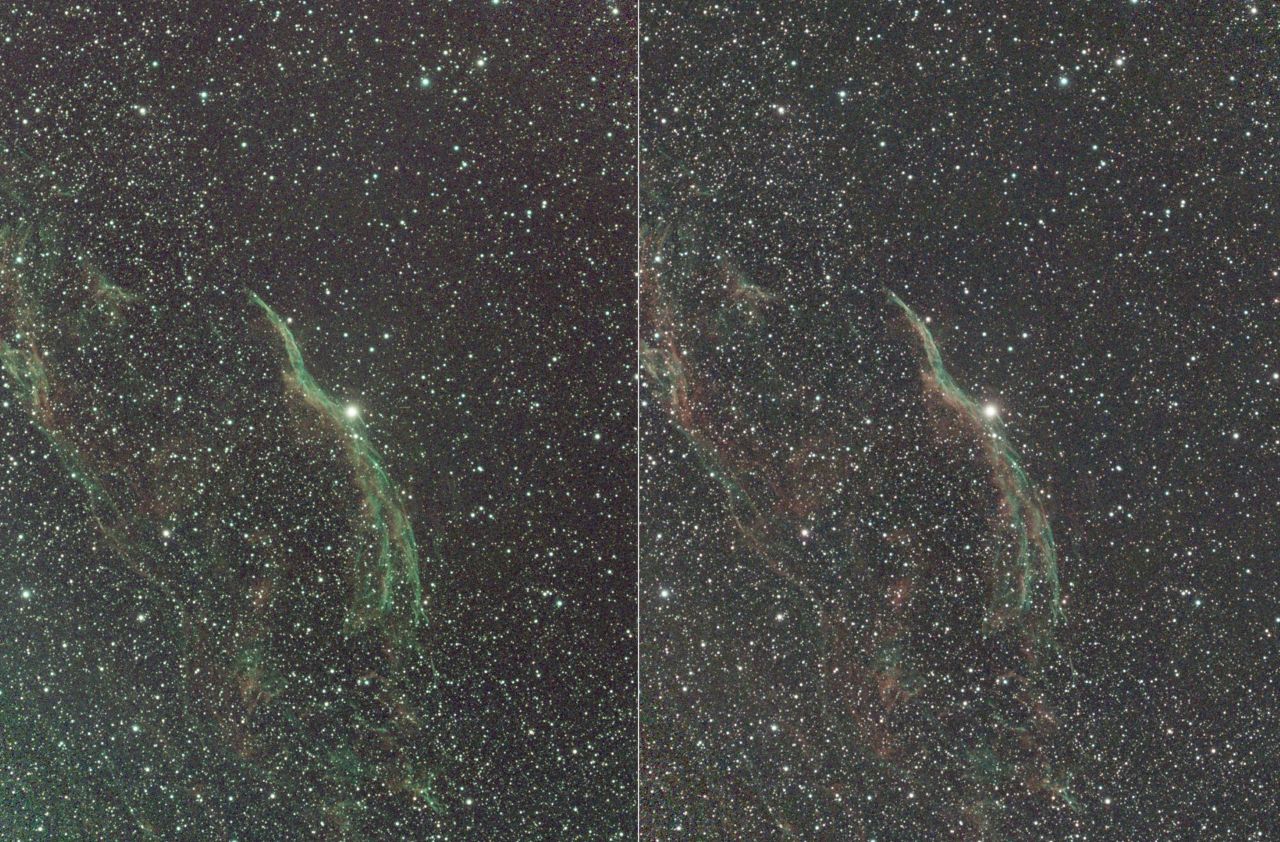
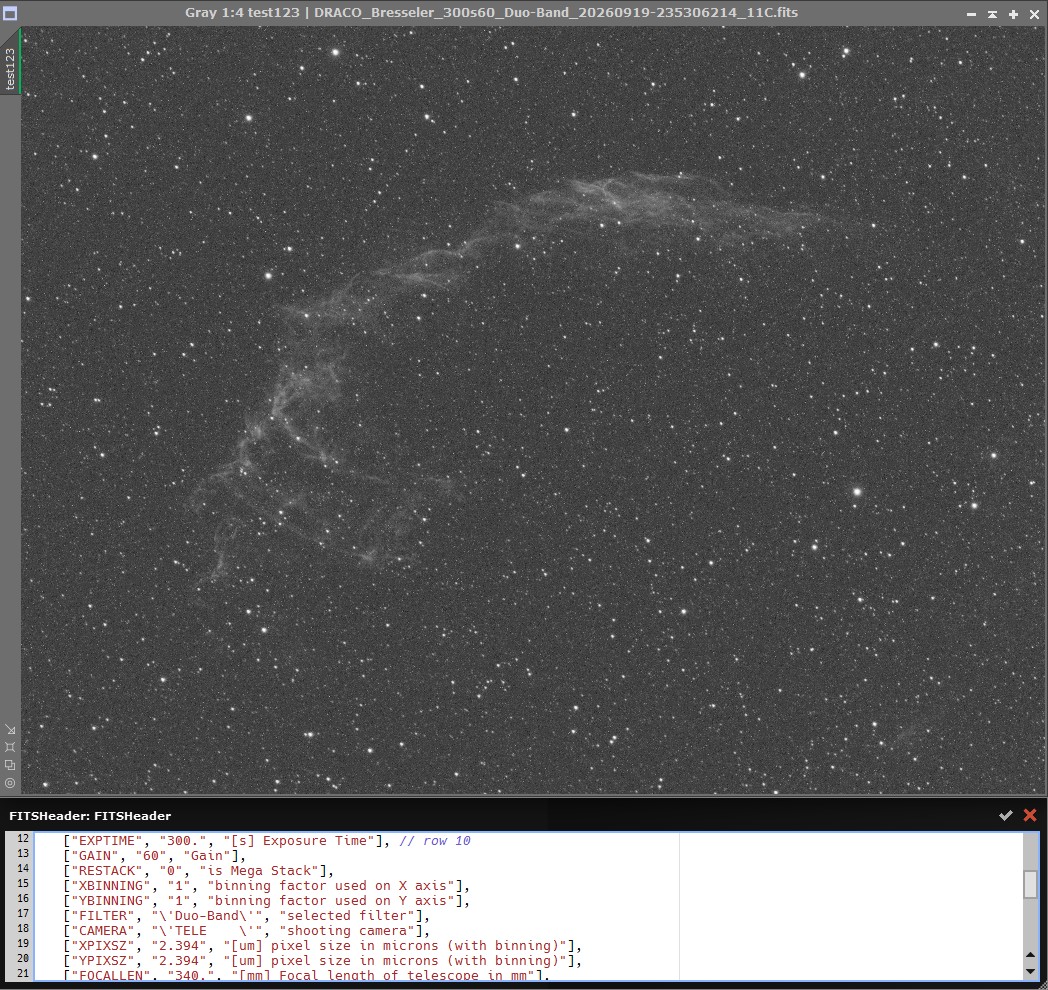
NGC 6960 in the S30 Pro, before and after gradient processing

NGC 6960 (Witch’s Broom) in the S30 Pro before and after gradient processing

Brief overview: How do the S30 Pro and S50 Pro differ? Besides the price, the S30 Pro natively produces a larger field of view. Based on the published data (August 2026), I would classify the S50 Pro as the more powerful system for deep-sky imaging, mainly due to its larger aperture, the associated greater light-gathering capability and its finer sampling of 2.30″/pixel compared with 3.74″/pixel for the S30 Pro. This generally provides better conditions for finer detail reproduction, although this naturally also depends on factors such as optics, tracking and imaging conditions. As with the S30 Pro, the S50 Pro also has a dual-camera system. IMO, the S30 Pro is the more straightforward, wider-angle all-rounder and therefore natively a larger field of view. If the goal is the easiest possible entry and only the two Seestar models are being compared, there is a lot to be said for the S30 Pro; anyone who wants to extract as much detail as possible from smaller and fainter deep-sky objects from the outset will probably be better served by the S50 Pro.
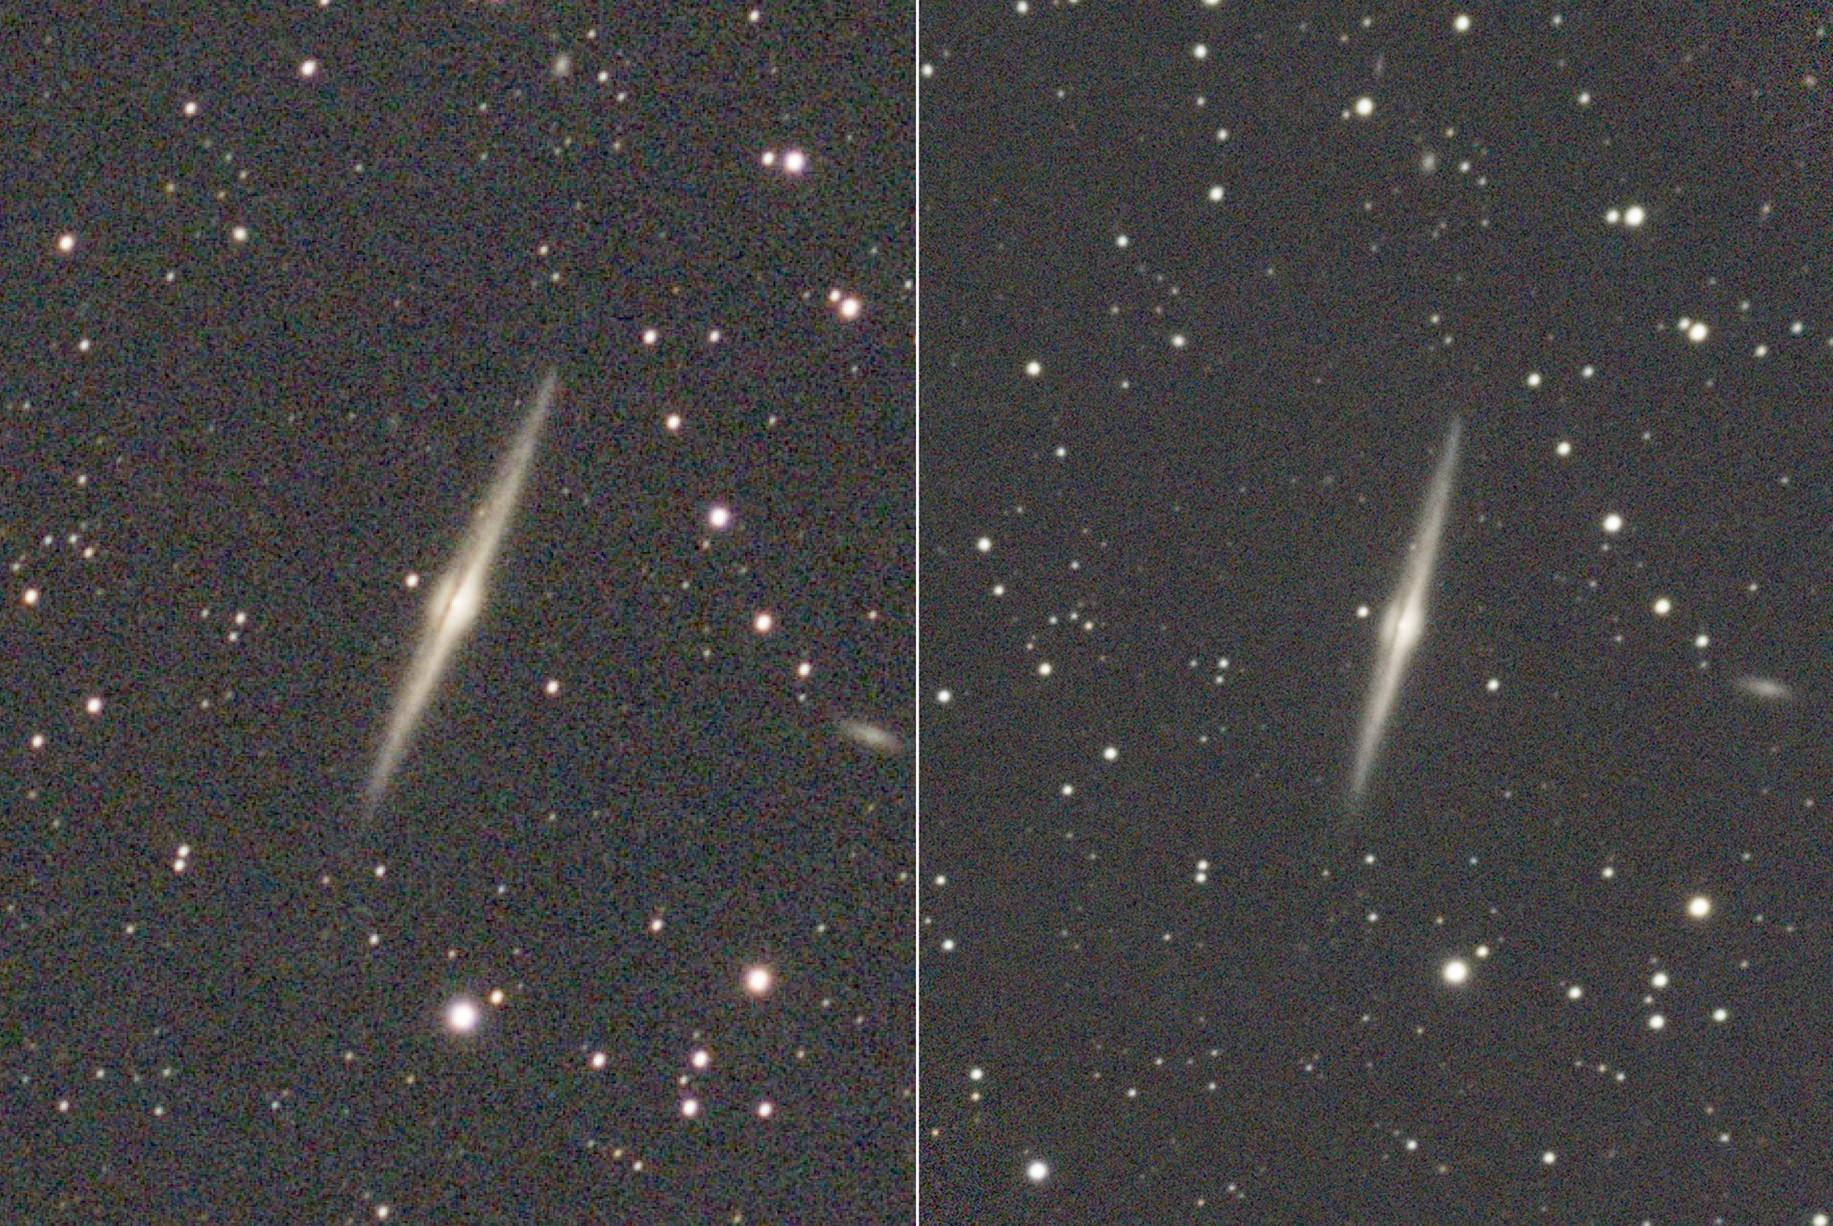
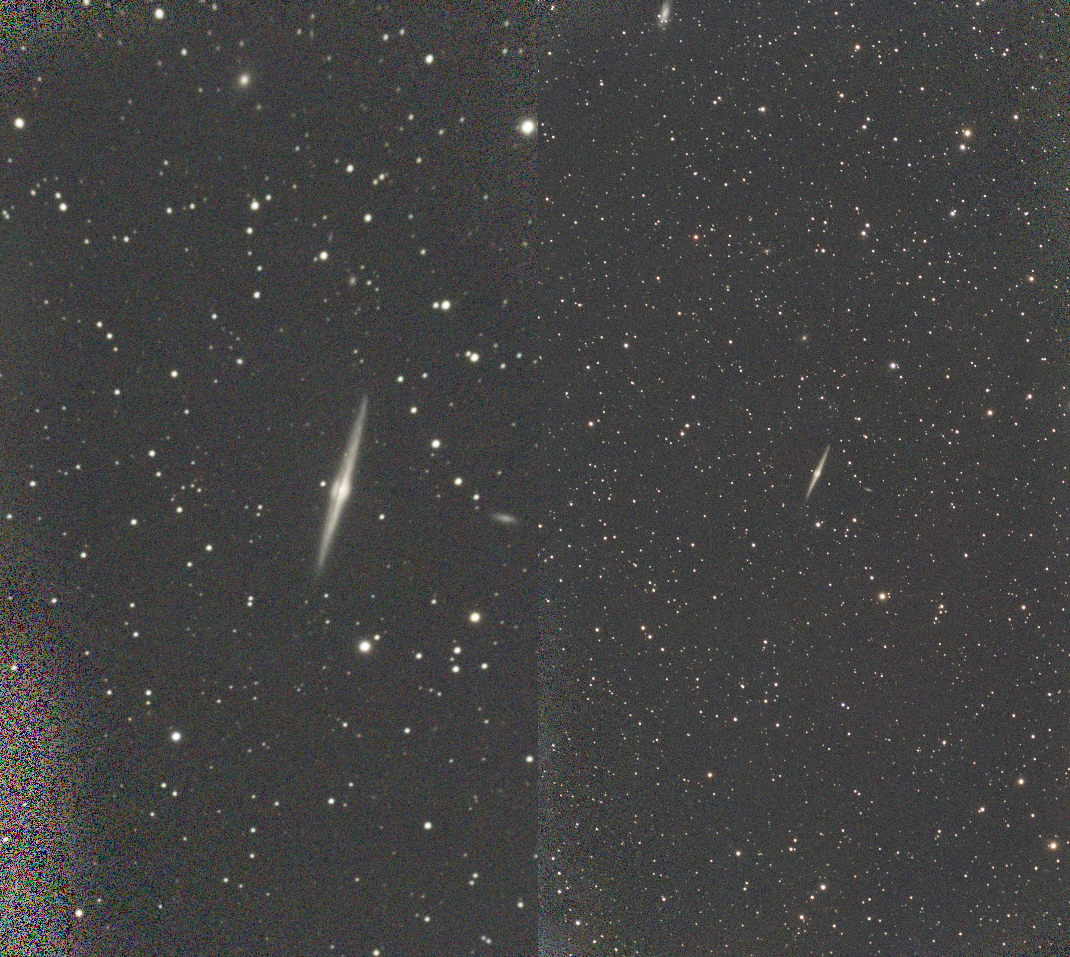
Here is an interesting comparison: Some time ago I captured NGC 4565 with the Seestar S50, and somewhat later with the S30 Pro.

NGC 4565 in the Seestar S50 and S30 Pro

The S50 should have a certain advantage, not only because of its 250 mm focal length, but also because of its 50 mm aperture compared with 30 mm. How can we assess the imaging capability of the two devices here?

NGC 4565 in the Seestar S50 and S30 Pro

With 50 mm compared with the S30 Pro’s 30 mm, the S50 has an aperture area 2.78 times larger. For a point source of light, such as a star, it can, at the same exposure time, in principle collect 2.78 times more photons. For an extended object such as NGC 4565, however, this aspect cannot be directly transferred to the signal per pixel, because the S50 has a 250 mm focal length compared with 160 mm. As a result, the object is imaged about 1.56 times larger; the same area of sky is therefore spread over about 1.56^2=2.44 times as many pixels.

For extended objects, the ratio of aperture to focal length results in a signal advantage of about (5.3/5.0)^2=1.12 per pixel for the S50, or around 12%. The S50 therefore provides only about 12% more light per pixel for an extended object. The larger aperture of the S50 does result in somewhat more collected light, but for extended objects the advantage is largely offset by the longer focal length and therefore the larger image scale of the object. For the signal per pixel, therefore, it is not the aperture alone that matters, but the interplay of aperture, focal length and pixel size.


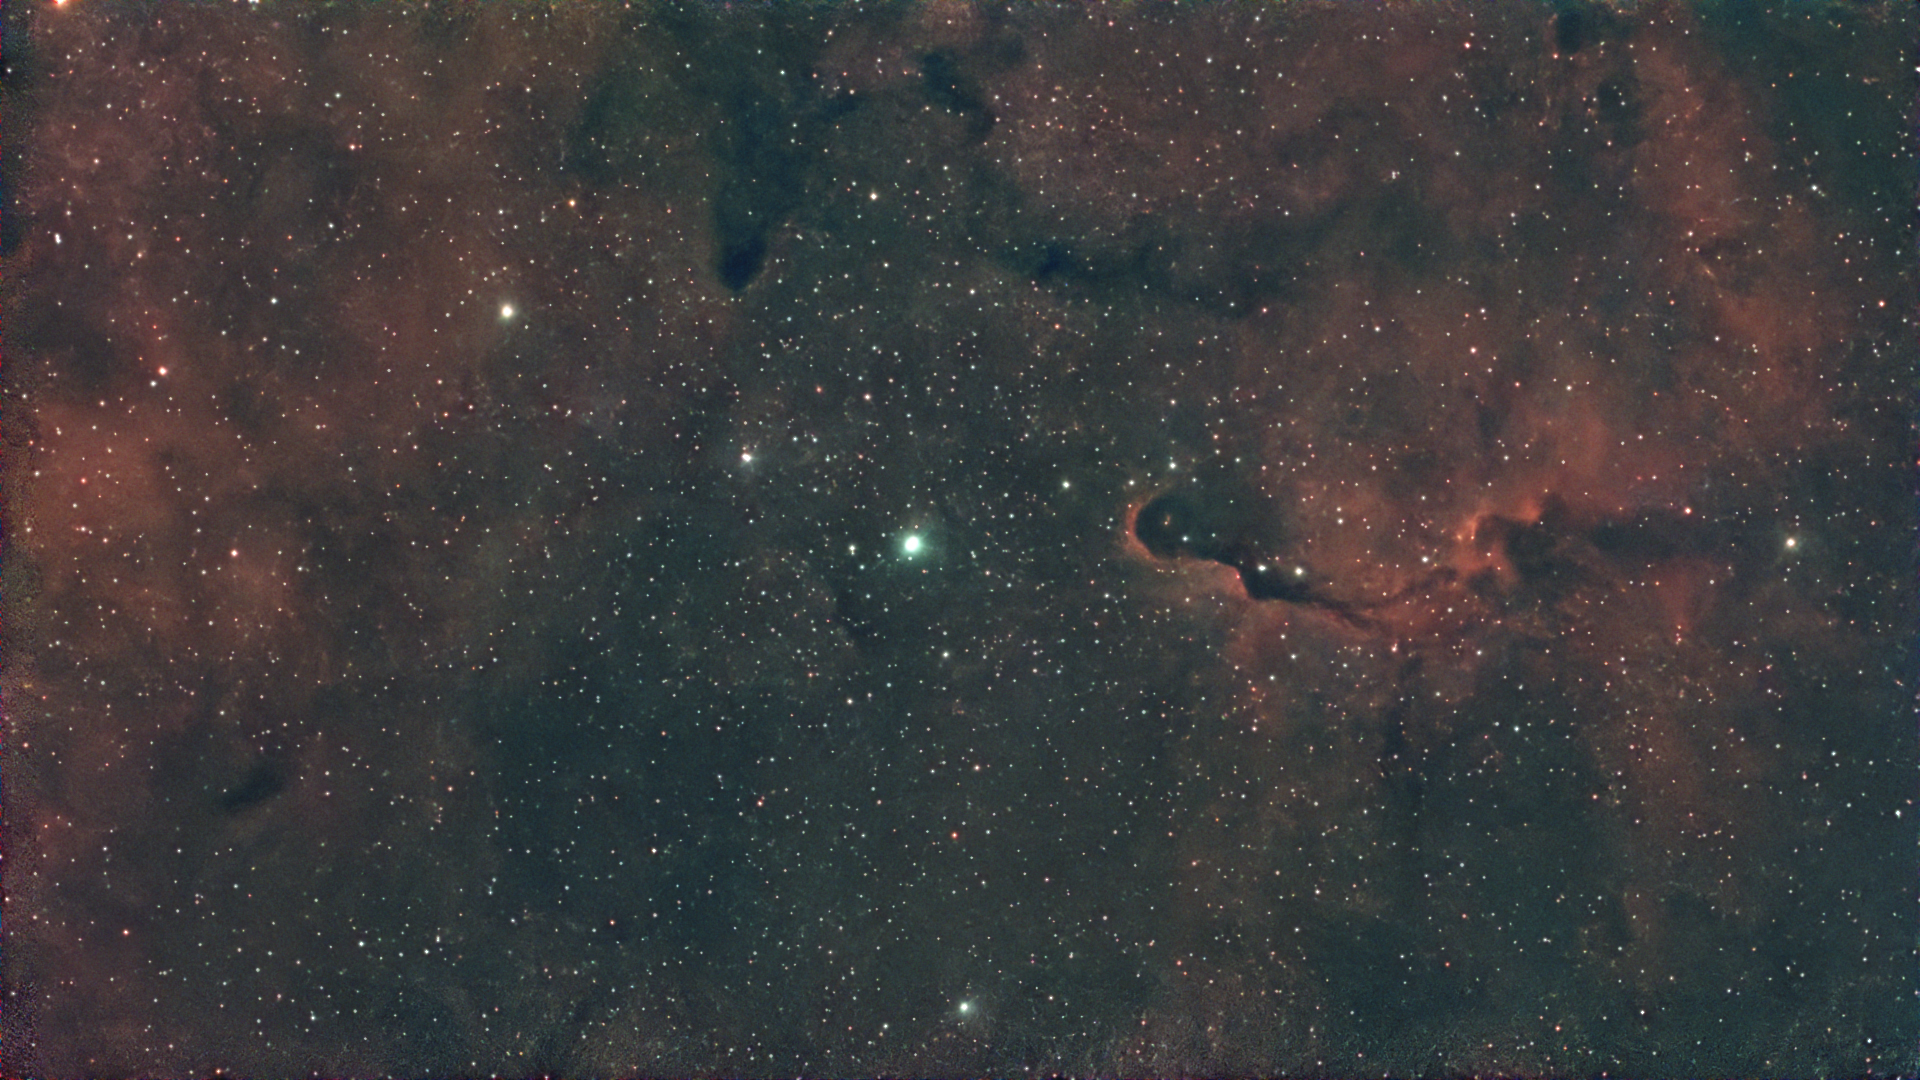
IC 1396 in the Dwarf Mini with integrated dual-band filter.

IC 1396 in the Dwarf Mini, post-processed with Siril, operated for 1 hour in Alt-Az mode with the integrated dual-band filter.

Does the Seestar S30 Pro provide better imaging than the DWARF Mini? Generally speaking, I wouldn't put it that way. The specs are very similar. The Seestar S30 Pro uses the Sony IMX585, while the DWARF Mini uses the Sony IMX662; both sensors have a pixel size of 2.9 µm. As a result, the detail resolution per pixel (sampling) is also nearly identical at 3.74″/pixel and 3.99″/pixel, The main difference lies in sensor size: The Seestar S30 Pro has 3840 × 2160 pixels, whereas the DWARF Mini has 1920 × 1080 pixels. As a result, the Seestar S30 Pro captures a significantly larger section of the sky and is particularly well suited to extended nebulae. The DWARF Mini has a correspondingly smaller field of view due to its smaller sensor.